Export Options. Currently, the program has one export option “Omit Directory Information.” Normally, when Compass exports a cave project, it puts each Compass files into a separate SEF directory. Some other survey programs have trouble handling these directories. As a result, the program allows you to omit directory information from the SEF file.
Exporting. To export an SEF file, select "Tools|Export SEF File" from the menu bar. The program will display the Export Window. Next, press the "Export" button and select either a Project File (.MAK) or a Survey Data File (.DAT) to export. As the conversion process proceeds, status information and error messages will be displayed. Finally, when the conversion process is complete, press the "Close Button." A file with an SEF extension will be left in the same folder as the file you converted. This file can then be imported into other survey programs. |
|
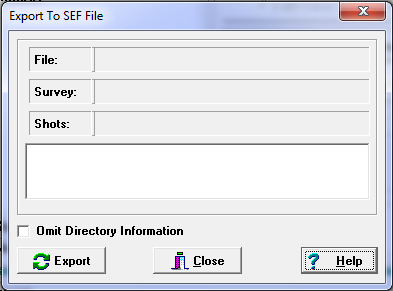
As the conversion process progresses, the window will display the details of the conversion process. Most of the time, there will be no problems or errors, so you can ignore this display. If, however, you are having problems converting the data, this screen will give you important information that can help you fix a problem. Any errors that occur during the conversion process will be displayed in the bottom window.
For more information about the Export Process, see the Export Issues section.