Cave Viewer and Lechuguilla Cave
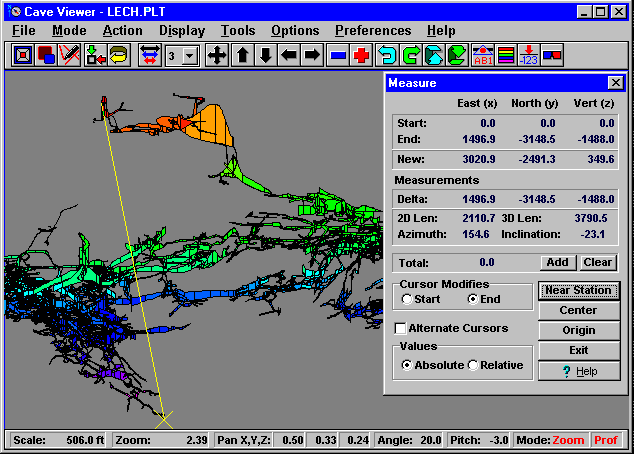
This image is from the Windows COMPASS Viewer. It is a display of Lechuguilla
Cave in New Mexico USA. This image shows several important features of the
Viewer. First, the image displays a profile view of the cave, tilted slightly
toward you. We are also using the passage modeling feature, to show the walls
of the cave. Here the walls are colored according to the passage depth.

The image also shows some of the special features of COMPASS. Along the top
is a tool bar. This enables you to manipulate the cave with single mouse
button clicks. The status bar along the bottom of the screen, shows numerical
values for the pans, zooming and rotations.
Finally, you will notice the "measure" dialog box on the screen. This feature
allows you to place cursors on the screen which can be used to measure distances,
and angles within the cave. The yellow line on the left side of the screen
is the interval we are measuring. The results of the measurements appear
in the dialog box. You will notice that the measurements include the position
of the Starting and Ending Cursor, the angles of the line connecting the
two points, and the distance between the points. This image shows a measurement
between the entrance and one of the low points in the cave. Since the cave
is a three-dimensional object, the Measurement Tools allows you to measure
in both 3D and 2D. To facilitate measuring distances between survey stations,
the Measurement Tools have a feature that moves the cursor to the nearest
station. This also positions the cursor in 3D and facilitates complex
measurements.

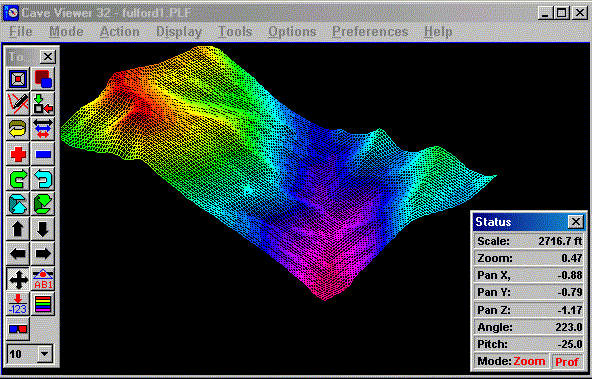
The Tool Bar and Status Bar can be converted into floating boxes that can
be positioned anywhere on the screen. They can also be removed individually.
This enables you to configure the Viewer to take maximum advantage of screen
space and makes it possible to display caves using a full window.
|

