|
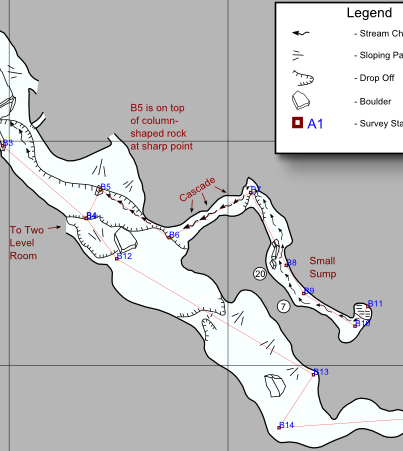
Creating Finished Maps Using Compass and Inkscape. Compass
normally generates an interactive cave map that can be used to view, explore and better
understand a cave. These images can be zoomed, panned and rotated dynamically
but they can only be viewed on a computer. These
images
are very different from the kind of paper maps that people like to publish,
enter into salons, and display on the wall. To solve this problem, Compass
allows you export cave data in as SVG files.
SVG files are especially useful for cave cartography because they can be exported to many
different drawing
programs. They are also "vector" based files, which means that they can be
scaled and adjusted mathematically in a variety of useful ways.
Many people export SVG files to programs like Adobe Illustrator.
Adobe Illustrator is an excellent program for creating cave maps, but it is
quite expensive. It sells for around $500. Even if you are a student or
work in education, the current cost is over $200, which is more than many
students and itinerate cavers can afford. As an alternative, I have focused the
Compass SVG tools on Inkscape.
Inkscape. Inkscape
is a open-source drawing program that is similar to Adobe Illustrator. It has
several advantages over Illustrator. First, it is free of charge. Second, it is
a cross-platform, which means that it will run many
different computers, including some that Illustrator doesn't support. Third, there are tons of
tutorials on the internet to help you learn to use it. Finally, as an open
source project, it is possible for cavers to get involved in the project and
influence the development of the software. Cavers with programming skills could
even add special features that would make it easier to create cave maps. To help cavers use Inkscape, I
have created the following tutorial to illustrate the process of creating cave maps with
Compass and Inkscape.
|
Tutorial Outline |
|
I. Background Information. |
| |
A. Latest Version Of Compass. |
| |
B. Getting Inkscape. |
| |
C. Learning Inkscape. |
| |
D. Learning Cave Mapping With Inkscape. |
|
II. Creating A New Map. |
| |
A. Exporting An SVG File.
|
| |
B. Run Inkscape. |
| |
C. Open the Layers Panel.
|
|
III. Preliminaries. |
| |
A. Turn Off Layers. |
| |
B. Turn On Layers. |
| |
C. Lock Layers. |
|
IV. Importing Sketch-maps. |
| |
A. Loading A Sketch-map. |
| |
B. Preparing The Image. |
| |
C. Scaling The Image. |
| |
D. Repositioning. |
| |
E. Fine Tuning. |
|
V. Tracing The Sketch-map. |
| |
A. Select the Drawing Layer. |
| |
B. Zoom Into The Start of the Survey.
|
| |
C. Select The Bezier Tool. |
| |
D. Trace A Passage Segment. |
| |
E. Set Fill, Line Size and Line Color. |
| |
F. Trace The Next Segment.
|
|
|
|